Stitch Markers

I taught myself how to crochet a little over a year ago. It was pretty rough at the start and I made a lot of really stupid mistakes. One of those mistakes was buying the wrong supplies. I knew I needed stitch markers, but I didn’t really know what those were or how/why they’re used. So I went to the store and bought some stitch markers…

Stitch marker 1

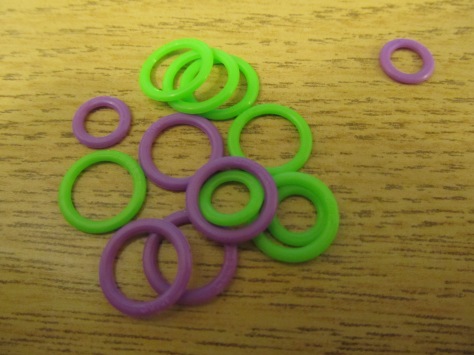
I had no idea that these were knitting stitch markers and really wouldn’t work for my crochet projects. I tried everything I could think of to use these damn things. They’re slightly flexible so I tried squishing them and sliding them under my stitches. I knew they shouldn’t loop under my stitches because I wouldn’t be able to get them out without cutting them, but I tried anyway. Needless to say, it was a very frustrating process and looking back on it I have to laugh at myself for being such an idiot.

After that, I searched high and low for something I could use instead, when I came across my collection of hair accessories…

Stitch marker 2

I figured I could use bobby pins temporarily until I bought some proper crochet stitch markers. But since then, bobby pins are the only thing I’ll ever use. The plastic nobs on the end keep them from snagging, they’re a little long but generally don’t get in the way, and I have about a million of them lying around! Safety pins haven’t proven to be very safe for me, paperclips catch and snag on my yarn, and pieces of yarn scraps can be fiddly. In the end, I probably saved myself a lot of money by buying the wrong stitch markers…

Stitch marker 3

Extended Single Crochet

Here’s a step-by-step guide to the extended single crochet stitch, as used in my Granite Stitch Scarf. The extended single crochet (esc) is just like the single crochet stitch with an extra step.

1) Insert your hook into stitch and yarn over (just like you would start a single crochet)

Image

Image

2. Draw yarn up through stitch, there are now 2 loops on the hook. (still like single crochet)

Esc 33. Now here’s the “extra step”: yarn over again (still like single crochet) and pull the yarn through the first stitch only (there are now 2 loops on the hook)

Esc 4

esc 5a

4. Yarn over and pull through both stitches

Esc 6

Esc 7a

I used a big hook for clarity, so the finished stitch won’t be this loose if you use the proper hook for your yarn.

Now if you’re alternating between esc’s and ch-1’s, like in my pattern, the next step is to chain 1, skip 1 stitch, and esc in the next — continuing until the end of the row.

Esc 8paint

In this pattern, you always start and finish your row with an extended single crochet, so on the next row (i.e. row 3 of the pattern and all odd rows) you will have 2 esc’s at the start before chaining. In the picture below, the first esc has been done and the black arrows indicate the chain-spaces where the extended single crochet stitches go into.

2nd row 1 Paint

2nd row 3

After a few rows, this is what it should start to look like. Notice that the esc stitches are offset, like mesh, or a checkerboard pattern.

granite pattern

Please let me know if you have any questions or if anything is unclear.