Circular Potholders

The past couple of days I’ve been working on making potholders. In the past I’ve made them by sewing 2 square dishcloths together or by using a double-thick pattern, like this one, which makes a gorgeous potholder but takes a long time and a lot of yarn.

I wanted something quick and easy, I also had a lot of cotton yarn in various lengths and colours so I wanted something that I could change colours easily when my scraps of yarn ran out.

Here’s what I came up with:

IMG_1450

A circular potholder! These work up really quickly, they’ve been taking me under an hour from start to finish. I think they look nice with both variegated and solid colours. I made 4 out of cotton and 1 out of wool.

IMG_1453

Taa-daa!

Hooray for busting through my cotton stash! There’s still some left, but this definitely left a dent. I think I’m going to try making some felted ones with my wool stash.

I’m still a little undecided which one I like the most. I think the purple/green one is my favourite, but my partner likes the green/beige one.

Basically I made 2 circles using double crochet, then joined them together. It’s a pretty straight-forward pattern, but nonetheless I wrote it up to share.

Circular Potholder

*Note: Ch 3 at start of every round counts as a stitch

Materials:

-Worsted weight cotton or wool (I’ve read that acrylic will melt, but I’m not sure if it’s true)

-Size I/5.5 hook

** A note about gauge: **

If you’re finding that your circle is curving up into a bowl-shape, you need to go up a hook size. (Try size J/6.0)

If you’re finding that your circle is too slack and when you try to lay it flat there’s an extra bit of material that you can’t smooth down, you need to go down a hook size. (Try size H/5.0)

Pattern (make 2):

Round 1:  In a magic circle, ch 3 (counts as 1 DC), work 11 DC into ring, join. {12}

Round 2: Ch 3, work 2 DC into each st around (11 times). Work 1 DC into last st, join. {24}

Round 3: Ch 3, (work 2 DC into next st and 1 DC into next st), repeat around (10 more times). Work 2 DC into last st, join. {36}

Round 4: Ch 3, (work 2 DC into next st and 1 DC into each of the next 2 sts), repeat around (10 more times). Work 2 DC into next st and 1 DC into next st, join. {48}

Round 5: Ch 3, (work 2 DC into next st and 1 DC into each of the next 3 sts), repeat around (10 more times). Work 2 DC into next st and 1 DC into next 2 sts, join. {60}

For the next round I switched to single crochet

Round 6: Ch 1 (does not count as a st), (work 2 SC into next st and 1 SC into each of the next 4 sts), repeat around and join to first SC {72}

Fasten off, weave in ends.

Finishing:

– Holding the 2 ‘wrong sides’ together, join the 2 circles together.

Edging options:

– Single crochet around

-Slip stitch around

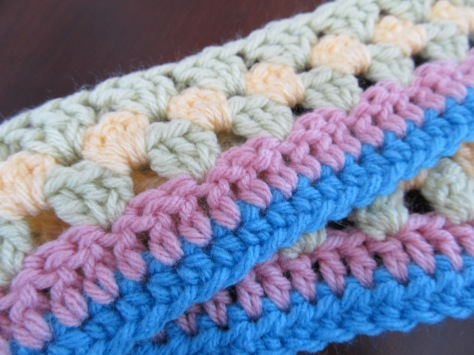
-Crab stitch/reverse single crochet (this is the one I used for the cotton potholders)

Edging with reverse single crochet

Edging with reverse single crochet

For the ring (optional):

– Ch 10, sl st into potholder, ch1 & turn

– Sc 15 evenly into ring created by chain (i.e. not into individual stitches, just into the ring)

IMG_1456

Colour Block Blanket

Happy new year everyone! I hope you had a nice holiday season. Here in Northern British Columbia it’s been snowing like mad, which wouldn’t be a bad thing except a couple of days ago it rained and the streets froze into a sheet of ice. Needless to say, it’s pretty treacherous outside…

IMG_1444

Brrr! Baby it’s cold outside

A couple of days ago I completed a blanket. This is my fastest one yet, I finished it in 6 days – a huge record for me. My mother-in-law bought me this yarn for Christmas. My yarn stash is already huge and I’ve been trying to work through it with some stash-busting projects so I’m pretty pleased I was able to use it up so quickly. I still have waaaay more yarn than I know what to do with though.

So without further ado, here’s my super-quick, stash-busting, and colourful blanket:

Taa-daa!

Taa-daa!

IMG_1442

Here’s the pattern:

Worsted weight yarn – I used Waverly for Bernat in antique, pink suede, butter, celadon, & greek sea. I used about 300m of each colour (approx 1 + 2/3 skeins)

Size N hook

Chain desired width of blanket, I chained 100

1) Ch 2 loosely for turning chain, dc in 3rd ch from hook and in each ch across

2) Ch 2 loosely and turn, dc in 3rd chain from hook and in each dc across, dc final stitch into 2nd ch (of turning chain)

Repeat row 2 until desired length. I did 20 rows of each colour, 100 rows total. My blanket was really long and narrow, if I were to do it again I would probably do a wider blanket for this length (i.e. chain 120 & keep 100 rows) or make it shorter (i.e. chain 100 & shorten it to 80 rows total / 16 rows per colour)

It's a bit too long and narrow for my double bed

It’s a bit too long and narrow for my double bed

Happy stitching folks! 🙂

Crocheted Viking Hat

This project’s been a long time coming. My brother requested a crocheted viking hat last Christmas. After searching high and low for a free pattern, I finally caved and bought one on Etsy from Mamachee. Tara’s patterns are absolutely beautiful! I ended up buying several of her patterns, they’re all spot on — just make sure you check your gauge!

I’ve tried making the viking hat probably 3 times now, and every time it either turns out too large or too small. It turns out I really just needed to check my gauge before I start a project, it would have saved me a lot of time if I’d done this before starting the pattern the first time… I think I’ve learned my lesson.

He’s requesting a crocheted beard now, but it looks like he’s got one coming in so maybe I don’t need to bother 🙂 I’ll definitely be making a few more of these for my friends/relatives.

IMG_0976

Purl Bee Cowl

I’ve been seeing a lot of cowl patterns lately and there seem to be two main methods: long & skinny (wrap around multiple times) or tall & short (go over your head once). I’ve been experimenting with both types and I’m still undecided about which one I prefer. Do you guys have a preference?

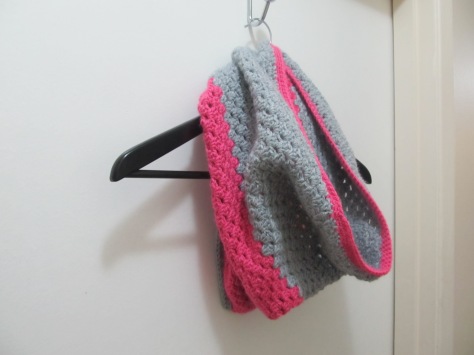
Over the Christmas break I made the two-color cowl from Purl Bee with some leftover light [3] weight yarn. Although  it turned out to be more yarn and time consuming than other cowls I’ve made, I’m very happy with how it turned out. I’d like to make some more, but I’ll probably use thicker yarn and a bigger hook next time so it doesn’t take so long.

Two Color Cowl

Happy Family Day!

You may be wondering what ‘Family Day’ is… It’s a brand new statutory holiday in British Columbia (and several other Canadian provinces) that falls on the 2nd Monday of February. It’s basically a made up holiday and an excuse for a day off between Christmas and Easter — and there are no objections here!

Anyway, I’ve been falling behind on my posts so let me show you some of the projects I’ve completed in the past year…

If you haven’t noticed already, I really like this pattern. On the last 2 pairs I have here I added 3 rows around the thumb too. Here’s a link to the pattern.

~*~

I also really like these Adeline Fingerless Gloves, and they’re stretchier than other gloves I’ve crocheted.

~*~

This pattern for Ripple Lace Fingerless Gloves is a nice in-between. They’re stretchier than the single crochet pattern, but not as bulky as the Adeline gloves, but that might also be because I made them with thinner yarn?

~*~

I’ve made a few of the Urban Jungle Beanie. The first one I made was a little loose around the brim so make sure you measure J

~*~

This one’s my own pattern. I made a case for my e-reader using half double crochets.

~*~

This is the first afghan I made. I improvised my own pattern, but it’s just a basketweave stitch

~*~

I entered this scarf into the annual summer fair in town and won first prize with it – the cash prize was a whopping $6! I used the daisy stitch (sometimes called galaxy stitch)

Cat Toys

I have two young and very rambunctious kitties. The one pictured above is Koshka, my sweetheart tabby (Koshka is the Russian word for ‘cat’ – I got her shortly after reading A Clockwork Orange, in which they use a lot of Russian words as slang). I love them both to pieces, but sometimes they drive me crazy trying to play with my yarn when I’m hooking. The solution? Crochet them some new cat toys!

These toys have to be some of the quickest projects I’ve whipped up. The first one I made was this ball. I also made the pill-shaped one for a friend of mine, but I only put a tail on one side. When I finished the ‘tailed pill’ toy I realized it looked inappropriate — I ended up not giving it to my friend.

Cat Ball

The second one I made was the ‘door hanger bouncy cat toy‘. If you make this, make sure it’s long enough that your cat can reach it. I followed the pattern and it ended up being too high to hang from a door knob.

Cat Toy

Circular Afghan

Circular Afghan

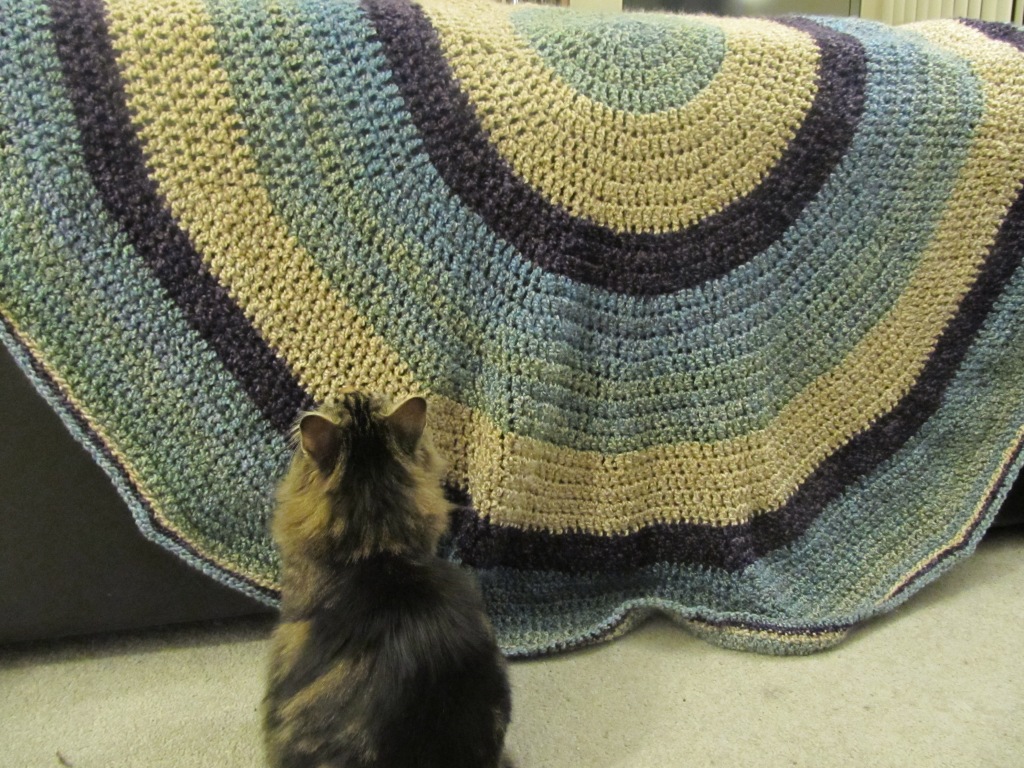
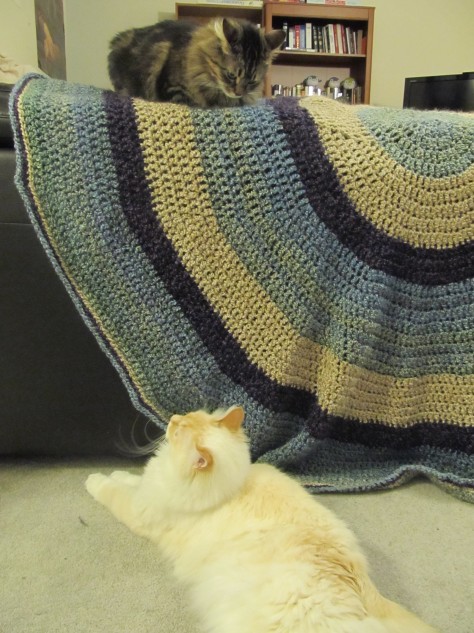
A couple of months ago, there was a big sale on homespun yarn. I love how soft this yarn is, so I bought about a million balls to make an afghan at some point. Well my basket (it’s actually a laundry hamper — that’s how much I bought) was taking up too much room so I decided it was about time to undertake my 3rd afghan project. This one worked up really quickly (well, relatively speaking anyway). I used this pattern for a circular afghan from Lionbrand, with 5 rows of Regency, 5 rows of Roccoco, 3 rows of Baroque, and 3 rows of Windsor (and repeated until I had 37 rows). This blanket is incredibly warm, almost too warm! But then again, living in Northern Canada, sometimes that’s necessary.

The cats seem to like the afghan too. I took a dozen pictures and there’s at least 1 cat in every one of them. Silly kitties!

Afghan 3k

Marian’s Neck Warmer

Neck Warmer2

Well it’s that time of the year again, and I’m up to my neck in crocheted Christmas gifts (and textbooks… but I won’t get into that). I wanted to make a scarf/cowl/neck warmer for my boyfriend’s mom and I came across the ‘Button Up Neck Warmer’ pattern on RedHeart.com.  It seemed perfect — practical and warm, without all the extra material of a scarf. This pattern promised it was quick and easy… well they got it half right! It was easy but it sure as hell wasn’t quick! This thing took me hours upon hours!! I’ve made full-length scarves in the time it took me to do this stupid thing! Now that it’s done I’m pretty happy with how it turned out, I just wish I’d made it a touch longer to allow for more ‘breathing room’ (I did the large size to begin with, but would probably have added an extra 5-10 stitches in the foundation). I hope she likes it.

Neck Warmer1

Stitch Markers

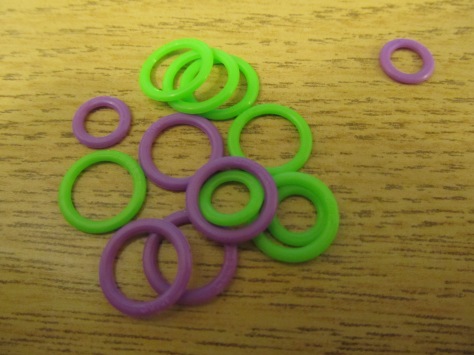
I taught myself how to crochet a little over a year ago. It was pretty rough at the start and I made a lot of really stupid mistakes. One of those mistakes was buying the wrong supplies. I knew I needed stitch markers, but I didn’t really know what those were or how/why they’re used. So I went to the store and bought some stitch markers…

Stitch marker 1

I had no idea that these were knitting stitch markers and really wouldn’t work for my crochet projects. I tried everything I could think of to use these damn things. They’re slightly flexible so I tried squishing them and sliding them under my stitches. I knew they shouldn’t loop under my stitches because I wouldn’t be able to get them out without cutting them, but I tried anyway. Needless to say, it was a very frustrating process and looking back on it I have to laugh at myself for being such an idiot.

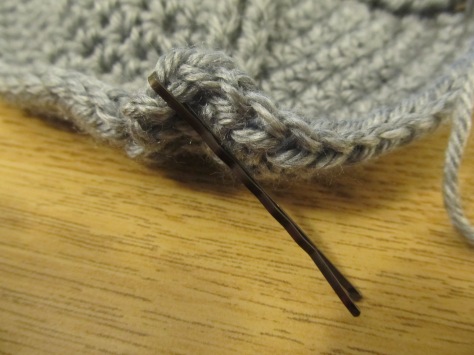
After that, I searched high and low for something I could use instead, when I came across my collection of hair accessories…

Stitch marker 2

I figured I could use bobby pins temporarily until I bought some proper crochet stitch markers. But since then, bobby pins are the only thing I’ll ever use. The plastic nobs on the end keep them from snagging, they’re a little long but generally don’t get in the way, and I have about a million of them lying around! Safety pins haven’t proven to be very safe for me, paperclips catch and snag on my yarn, and pieces of yarn scraps can be fiddly. In the end, I probably saved myself a lot of money by buying the wrong stitch markers…

Stitch marker 3